Sandbox
Jump to navigation
Jump to search
The purpose of the sandbox is to allow a member to create a new title and begin adding characters to it. When they are finished a moderator can verify their work and merge it in with the database.
Contents
Member Guide
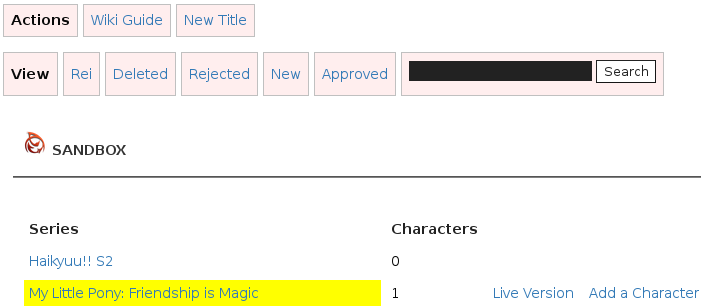
Introducing the sandbox. The default view :
Adding a Title
Clicking the New Title Action will bring up the following form :
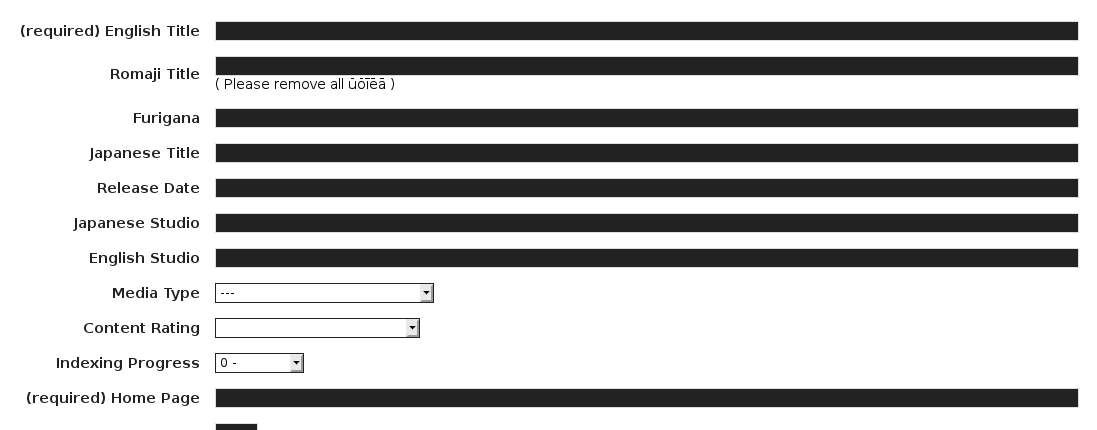
- Please use YYYY/MM/DD for the date
- Please use the names as found on wikipedia
- Please link to the official home page, or a credible links that lists all characters
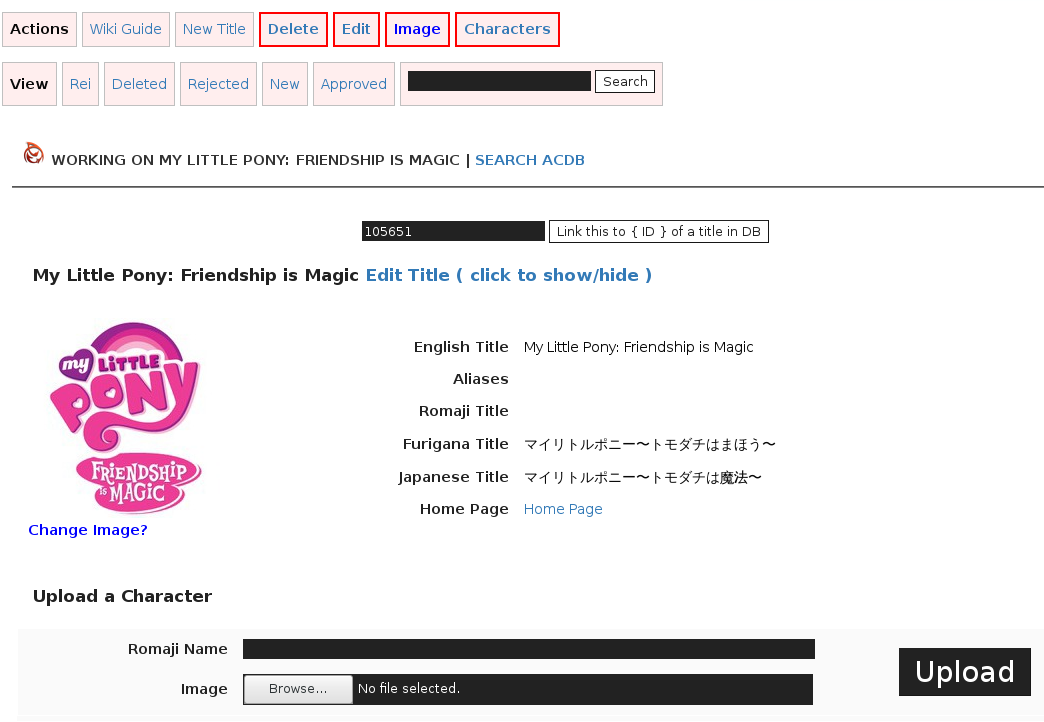
Editing a Title
Once a title has been added, you can select it from your list to begin editing it. New actions buttons will become available in edit mode :
Adding a Character
Click the Character action to be taken to the upload form. Name and upload an image.
- Images must be at least 200x200
- Images larger than 1000x1000 will be resized to 1000x1000
- Nudity will be deleted
- Black and White images will be deleted
Next, click the Edit link for the character found here :
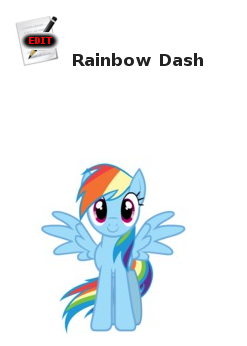
This will bring up a form for entering many details.
Removing a Character
- Set the name to DELETE ME or PLEASE IGNORE
- Currently, Titles are added, then characters are individually approved
Requesting Moderator Review
The #ACDB Help lounge is the best place to reach an admin.
- Provide a link to the title you would like approved
- You must add some characters first
- No characters, no approval
Moderator Guide
Approving a Title
- Select the title
- Click Edit
- Verify the details are correct and consistent with the database standards
- After the form there is a Add Title to Database button
- Click it to truly approve the title
- Next, each individual character will need to be opened in another tab using the edit button
- Verify the details are correct and consistent with the database standards
- Click the Add Character to DB link at the top